1. Choosing the Right Base Vehicle Category
When you daydream about vanlife, it is easy to picture waking up on a cliff edge. But the reality also involves squeezing down tight medieval European alleyways, crossing toll booths, and negotiating multi-storey height barriers. Choosing between a compact van (such as short wheelbase transporters or mid-sized panel vans) and full-size large panel vans is your very first fork in the road.
Compact vans provide agile daily drivability, easier parking in historic European cities, lower ferry charges, and generally better fuel economy. However, you will sacrifice standing room unless you invest in a pop-top roof, and your layout will invariably require day-to-night bedding conversions. Full-size panel vans, conversely, allow fixed full-length beds, enclosed shower cubicles, and permanent indoor cooking stations, but they demand greater confidence on winding mountain passes and restrict access under standard 2.0-metre car park barriers.
The European Height Barrier Reality
Along many French, Spanish, and Italian coastal routes, municipal car parks install 1.9m to 2.1m height restriction bars to prevent overnight camping. If seamless coastal parking is your priority, a compact pop-top vehicle holds an immense advantage over high-roof vans.
2. Payload Margins: The Invisible Dealbreaker
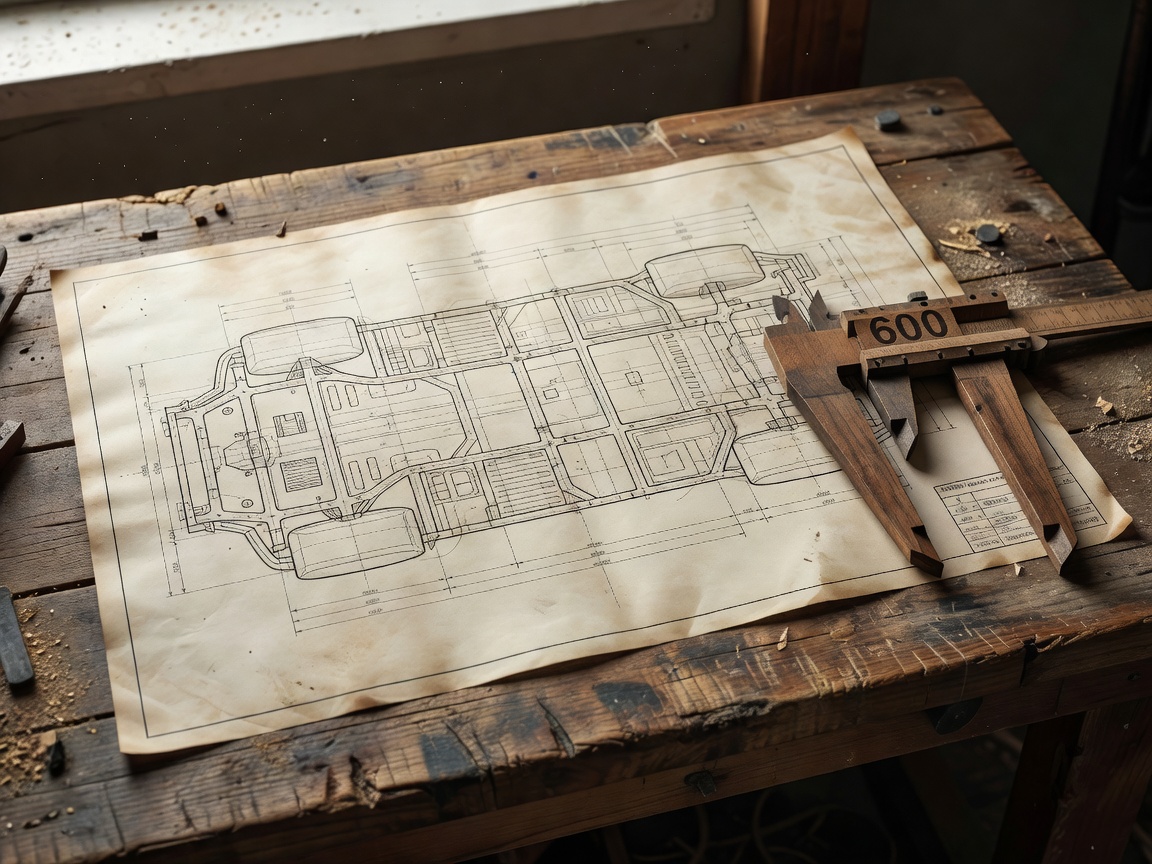
Every commercial van arrives with a Gross Vehicle Weight (GVW) rating—commonly 3,000 kg, 3,200 kg, or 3,500 kg for passenger-car licence holders across the European Union. This figure is not a gentle suggestion; it is a rigid legal boundary enforced at highway weigh stations.
Deduct the vehicle’s unladen kerb weight from this ceiling, and what remains is your payload. That allowance must cover your timber framing, insulation, water tanks (1 litre of water equals 1 kg), auxiliary battery banks, kitchen gear, passenger weights, food, luggage, and sports gear. We strongly urge builders to weigh their base vehicle empty with a full fuel tank before starting construction, and to track every component with a running digital weight log.
3. The Logical Build Sequencing
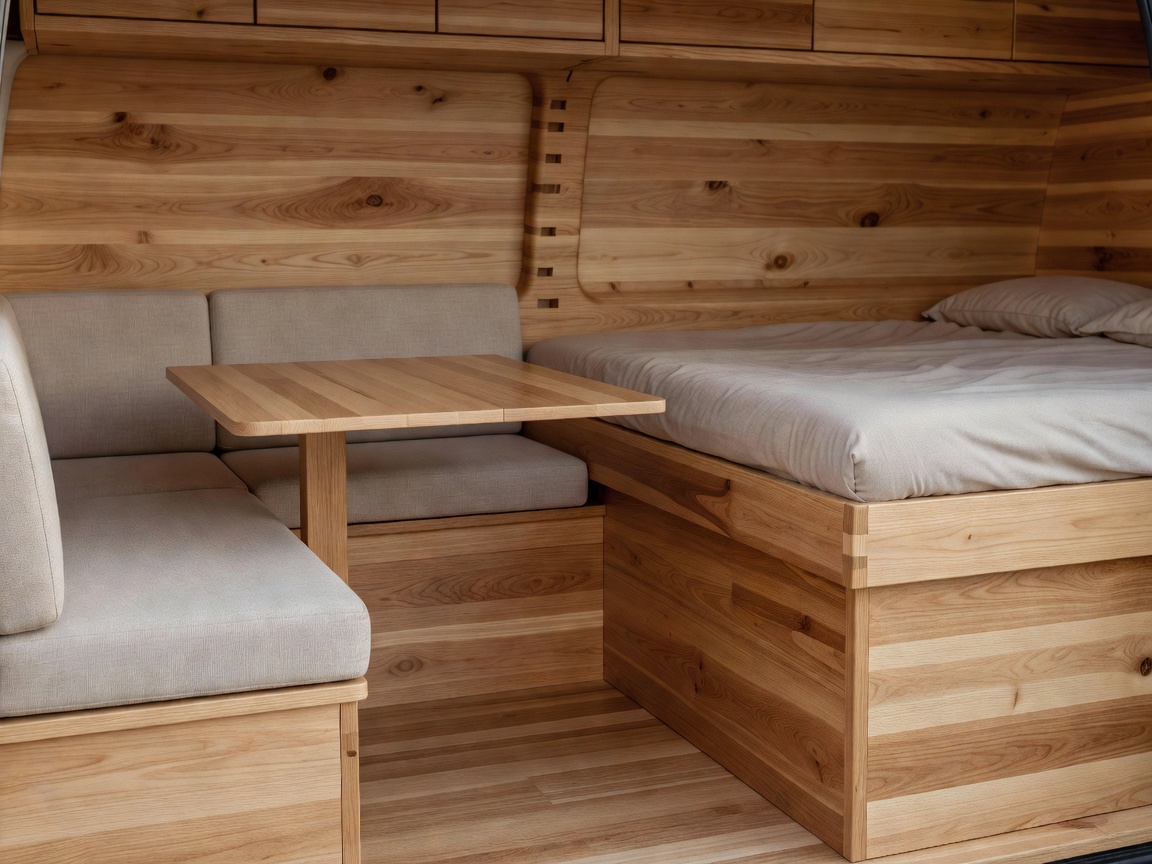
One of the most frequent mistakes we encounter is builders rushing to install tongue-and-groove pine cladding before their hidden infrastructure is mapped and tested. Ripping down finished paneling to add a forgotten lighting feed or repair a leaking water pipe fitting is heartbreaking work. Follow a disciplined chronological sequence:
- Strip and Treat: Remove factory bulkheads, treat surface rust, and install sound-deadening butyl pads on large resonating metal panels.
- Chassis Openings: Cut roof holes for ventilation fans, skylights, side windows, and underfloor gas dropouts before any interior insulating materials are in place.
- Structural Battens: Bond treated timber sub-framing to the metal chassis ribs using elastic structural polyurethane adhesive.
- Conduit & Plumbing Rough-In: Run high-temperature automotive cable conduits, water lines, and heater ducting behind where walls will sit.
- Insulation & Vapour Barrier: Layer non-hygroscopic thermal insulation (such as recycled polyester fleece or closed-cell foam) followed by an unbroken, tape-sealed vapor barrier.
- Subfloor & Wall Linings: Lay lightweight structural plywood floors and durable wall paneling.
- Cabinetry & Furniture: Anchor module units directly to structural battens, not flimsy panel skin.
- Final Fit-Out: Mount appliances, wire terminal blocks, pressure-test water lines, and install soft finishes.
4. Insulation, Heating, and Moisture Control
Two adults breathing overnight produce roughly one litre of water vapour. In an uninsulated metal box in cold weather, that water vapor immediately condenses on cold steel ribs, eventually dripping behind cabinetry and initiating hidden rust.
Never use residential fiberglass batts or unsealed open-cell wool that absorbs moisture like a sponge. Instead, rely on closed-cell acoustic foam directly against the metal exterior skin, paired with high-loft hydrophobic polyester wool inside hollow cavities. Coupled with continuous roof ventilation and a thermostatically controlled dry-air diesel or hydronic heater, your cabin stays warm, dry, and free of damp mustiness.
5. DIY vs. Professional Conversion & Maintenance Access
Taking on a complete self-build is an intensely rewarding craft project, but you must be honest about your tool kit, electrical literacy, and available workshop space. It is common practice—and often very sensible—to hybridize your approach: handling the insulation, wall paneling, and furniture yourself, while subcontracting window cutting, lithium electrical harnesses, or high-pressure gas installations to certified automotive specialists.
Whatever route you choose, design every system for future servicing. Pumps fail, fuses blow, and water fittings occasionally weep. If inspecting your water pump requires unscrewing an entire kitchen counter, the design has failed. Incorporate magnetic access hatches, service doors, and neatly labeled wiring junction points throughout your layout.